Shopware Migration Checklist
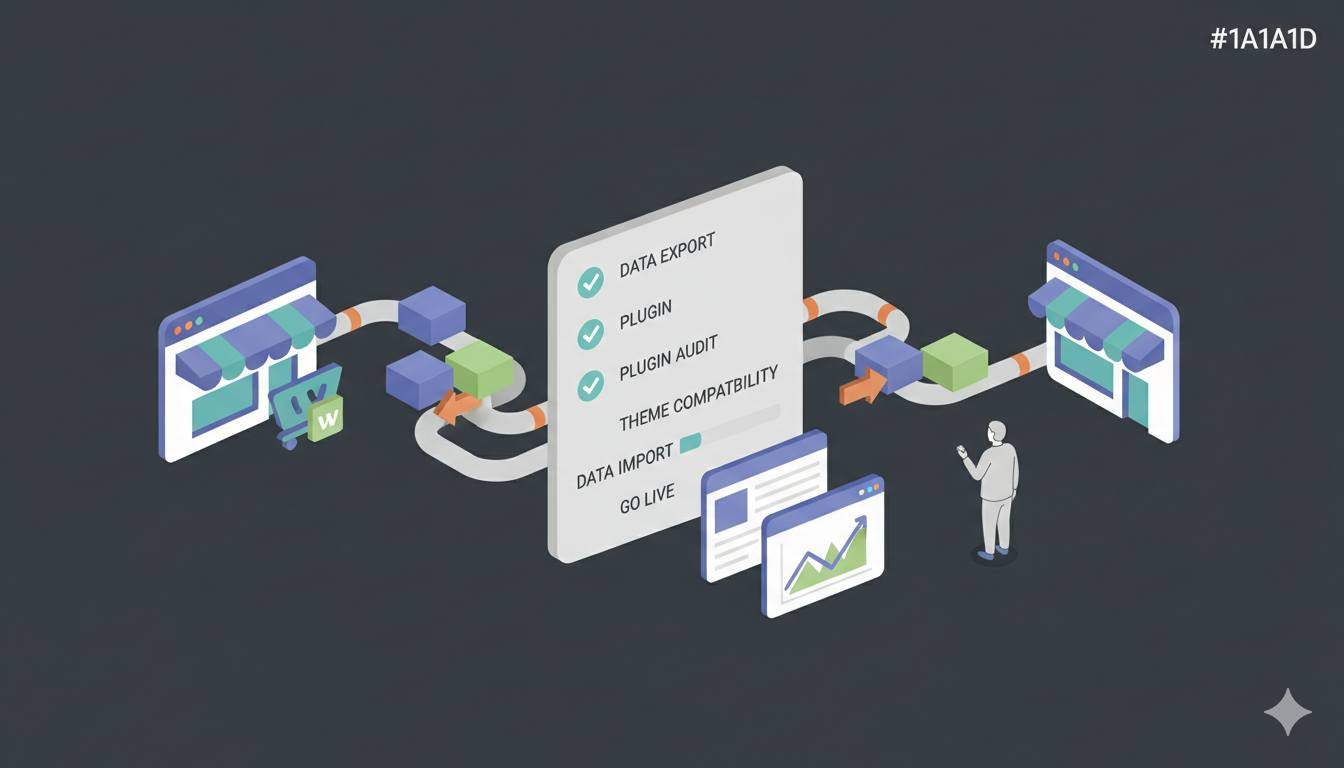
Success is in the details. Moving your eCommerce business to Shopware is a major step toward a powerful, open-source platform with unlimited products and full customization, but it requires precision. To ensure you don't lose a single order, customer, or SEO ranking, we have compiled this comprehensive, step-by-step checklist. Use this to track your progress from your current platform to your new Shopware store.
Phase 1: Pre-Migration Preparation
Before you move a single piece of data, you must secure your assets and prepare the environment. A messy preparation leads to a messy migration.
1. Audit Your Current Store
- Clean up data: Delete test orders, spam customers, and obsolete products. Don't pay to migrate data you don't need.
- Audit apps/extensions: List every app or extension you currently use (e.g., Rewards, Subscriptions) and find their Shopware plugin equivalents.
- Record SEO benchmarks: Note your current organic traffic, domain authority, and keyword rankings to compare after the move.
2. Secure Your Data (Backups)
- Data Backup: Export your full database (CSV, XML, or platform-specific export).
- Media Backup: Download all product images, banners, and digital assets.
- Design Files: Keep a copy of your old design for reference, even though Shopware uses a different theme system.
3. Prepare the Target Environment (Shopware)
- Hosting Setup: Ensure you have PHP hosting (PHP 8.1+) with MySQL database (MySQL 8.0+ or MariaDB 10.3+).
- Shopware Installation: Download and install the latest stable version of Shopware 6.
- Database Creation: Create a MySQL database and user for your Shopware installation.
- Migration Plugin: Install the migration plugin on your Shopware store (required for automated migrations).
- Disable Public Access: Use hosting control panel or maintenance mode to password-protect your Shopware installation during setup to prevent Google from indexing your unfinished site.
- Custom Domain: If using a custom domain, prepare to connect it later (don't point DNS yet).
- SSL Certificate: Install an SSL certificate for your Shopware store (most hosting providers offer free SSL via Let's Encrypt).
Phase 2: The Data Migration (Using Shopware Migration Hub)
This is the core of the process. Using an automated tool like Shopware Migration Hub reduces weeks of manual entry into a few hours of processing.
4. Connect Your Stores
- Source Cart Credentials: Gather your current store's URL and API details (or install the Connector Bridge).
- Target Cart Credentials: Input your Shopware store URL and ensure the migration plugin is installed and activated.
5. Select Entities to Migrate
Check the boxes for the data you want to transfer:
- Products: Names, SKUs, prices, quantities, and product variants.
- Product Categories: Shopware uses "Categories" terminology. Structure and hierarchy.
- Customers: Names, emails, phone numbers, addresses. Note: Passwords can be migrated with the migration plugin.
- Orders: History, status, transaction IDs, dates.
- Coupons: Codes and discount rules.
- CMS Pages: "About Us," "Contact," and Blog posts.
- Reviews: Customer feedback and ratings.
6. Configure Advanced Options
- Migrate Images in Descriptions: Ensure images embedded in HTML descriptions are downloaded to Shopware's media system.
- Preserve Order IDs: Keep your order numbers the same (e.g., Order #1001 remains #1001) if possible.
- Product Variant Mapping: Shopware supports flexible product variants. Map complex variants from your source platform to Shopware's option groups.
- Create 301 Redirects: (Highly Recommended) Automatically map old URLs to new Shopware URLs.
- Password Migration: Enable password migration if using the migration plugin (recommended for customer continuity).
7. Run Demo & Full Migration
- Run Demo Migration: Transfer a limited number of entities to verify the data structure.
- Review Demo Results: Check if product variants and images are displaying correctly on the storefront. Verify category structure.
- Launch Full Migration: Start the process and let it run in the background. Shopware's Symfony-backed database efficiently handles large catalogs.
Phase 3: Post-Migration Configuration
The data is there, but the store isn't functional yet. Now you must build the "house" around the furniture.
8. Design and Customization
- Choose Theme: Select a Shopware theme that matches your brand. You can customize it later.
- Homepage Setup: Set up your sliders, featured products, and banners using Shopware's Administration.
- Navigation Setup: Go to Settings > Shop > Navigation and organize your navigation (header and footer).
- Mobile Optimization: Ensure your Shopware theme is responsive and looks great on mobile devices.
9. Store Functionality
- Payment Gateways: Configure PayPal, Stripe, Square, Authorize.Net, etc. in Settings > Shop > Payment. (Credentials are never migrated for security).
- Shipping Methods: Go to Settings > Shop > Shipping to set up flat rates, free shipping, or weight-based rates.
- Taxes: Configure tax rates manually in Settings > Shop > Tax or use automated tax calculation plugins if available in your region.
- Email Notifications: Customize the "Order Received" and "Order Shipped" email templates in Shopware's mail settings to match your branding.
10. Customer Access
- Password Migration Verification: If you enabled password migration, test customer login to ensure passwords were transferred correctly.
- Customer Communication: Prepare an email campaign to notify customers about the migration and any changes to the login process (if passwords weren't migrated).
Phase 4: Testing and QA
Do not go live until you have acted as a customer.
11. Functional Testing
- The Purchase Funnel: Add a product to the cart, go to checkout, and complete a purchase using a test gateway or sandbox mode.
- Guest vs. Registered Checkout: Test both scenarios.
- Discount Codes: Try applying a migrated coupon code to ensure logic is preserved.
- Contact Forms: Test your contact page and ensure emails land in your inbox (check spam folders).
12. SEO Preservation
- Check Redirects: Click on an old URL from your previous store (e.g., from a Google search result) and ensure it redirects to the new Shopware product page.
- 404 Monitor: Use Shopware's SEO plugins or Google Search Console to monitor for broken links.
- Generate Sitemap: Shopware has built-in sitemap generation. Verify it's accessible at
yourdomain.com/sitemap.xml.
Phase 5: Go Live
The finish line. It's time to switch the traffic flow.
13. Recent Data Migration (The Bridge)
Since your old store was live while you were setting up Shopware, new orders may have come in.
Action: Run the Shopware Migration Hub "Recent Data Migration" service to fetch only the data added since the Full Migration started. This prevents duplicate data and ensures no order is left behind.
14. Domain Switch (DNS)
- Connect Custom Domain: If using a custom domain, update your DNS records (A Record or CNAME) to point to your Shopware hosting.
- Propagate: Wait for DNS propagation (can take 1-24 hours).
- Remove Password Protection: Remove any maintenance mode or password protection to make your store publicly accessible.
15. Post-Launch Activities
- Submit Sitemap: Upload your new sitemap (generated by Shopware) to Google Search Console.
- Monitor Performance: Use Shopware Analytics and Google Analytics to monitor traffic and sales.
- Terminate Old Store: Only cancel your old store subscription once you are 100% sure the new store is stable (usually wait 1-2 weeks).
Need help checking off these boxes?
Shopware Migration Hub handles the heavy lifting of Phase 2 and provides support for the tricky technical aspects of data mapping. Don't risk your data doing it manually.